|
In 1978, I had the opportunity
to meet with longtime braider, Ernie Ladouceur, at his home in
Madera, California. At age 82, he was still enthusiastic about
braiding. Among other braiding subjects, we discussed the 6 bight
long pineapple button and how it could be braided with one string
and its practicality. He pointed out that even if a small portion
of the button was braided, but needed to be set aside, the string
would remain in the same position until picked up at a later
date making it easier for the braider to keep his or her place
until then. An example is in the photo below which is the same
position as in Fig. 7, page 16. Refer to The Art of Braiding,
Romal Reins II to read more about my conversations with Ernie
Ladouceur.

The Art of Braiding, Long Pineapple
Button in large part is written and illustrated to function as
a valuable reference for braiding the long pineapple button or
long button that can be 4 bight, 6 bight, 8 bight or more. The
majority of buttons in this book are based on instruction for
the 6 bight long pineapple button.
In this text, the "long
pineapple button" will often be referred to as the "long
button" and the words lacing and strings are used interchangeably.
As in all the books, I have tried to stay as correct as possible
with my terminology.
The long button in any bight
size can be interweaved in herringbone or gaucho and can also
be doubled as an interweave. Long pineapple buttons in various
sizes of bights and turns can be used for a great many braided
items, both small and large. There are instructions and examples
of how a long button with different bights and number of turns
will allow for various interweaves.
Included are two unique and challenging long pineapple buttons,
one is the shortest long button with 8 bights in 2 turns. Each
has a gaucho interweave on one end and a herringbone interweave
for the remainder of the button and both are braided using a
single string.
Also included is another smaller
long button that is not part of this long pineapple button series,
but a small long button I felt best included in this book.
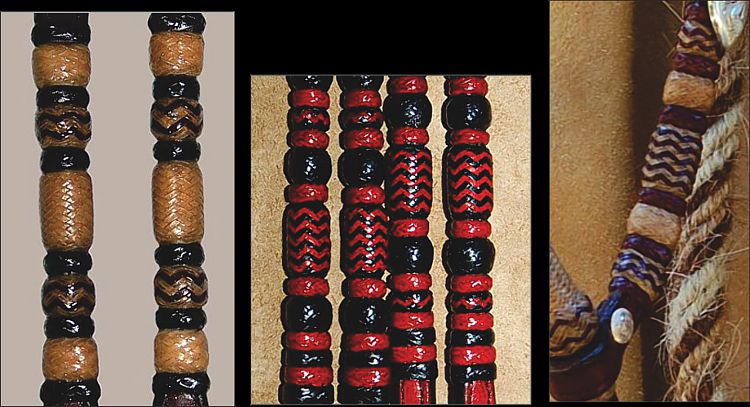
The long buttons add an attractive look to a series of buttons,
as in the examples below:

As you work through the buttons,
be mindful of the Illustration Key. The symbols will be necessary
as you follow the button pattern.
The following green, blue and
red arrows are basic to all illustrations found in this book.
Later in the text, more clarifying symbols will be added as needed.
As in the other Art of Braiding
books, dotted lines with arrows indicate the current working
path. The standing end and the working end will be identified
when helpful.
 |